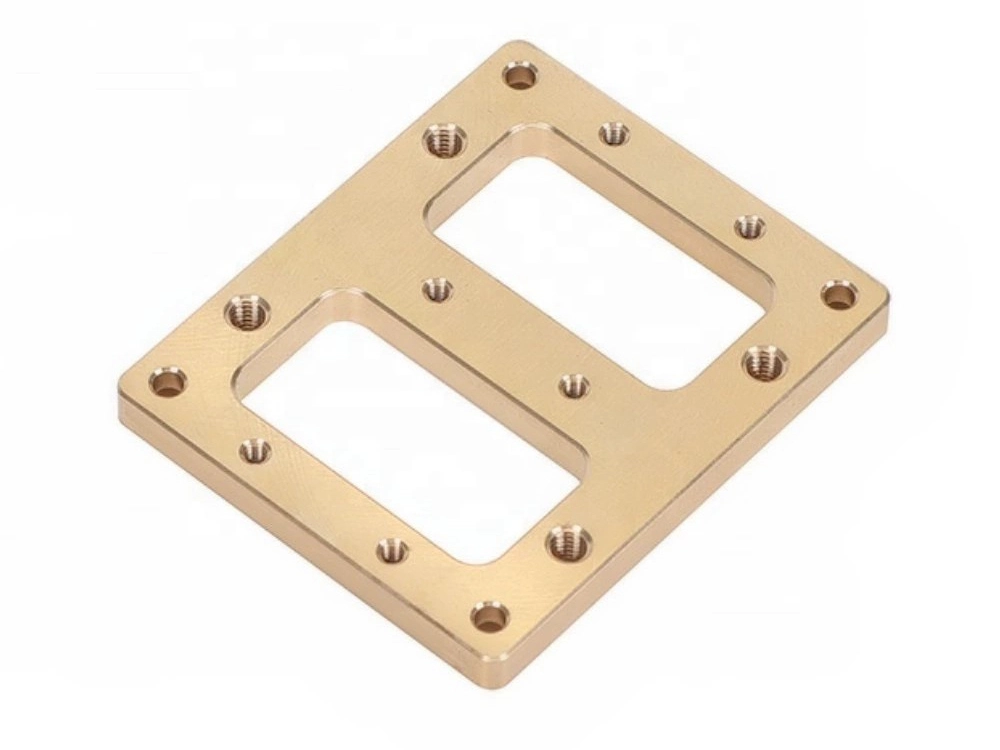
We received the client’s blueprints for the cold plates, which demanded exceptional thermal management capabilities. After discussions, both parties agreed on a CNC precision machining plus welding approach. This method is commonly used for producing high-precision, complex-channel, high-performance cold plates, especially those made from aluminum or copper alloys. At the end of this article, I’ll touch on other viable manufacturing methods—click here to jump to the discussion on common and advanced alternatives.

Applicable Products: High-power electronic devices, battery modules in new energy vehicles, high-performance computing systems, or internal components in industrial controllers using air cooling or heat pipes.
Challenges: Addressing heat dissipation bottlenecks while ensuring extreme cooling efficiency, absolute reliability, and long-term stability.
Solution: CNC precision machining of channel substrates and covers, followed by vacuum brazing for sealed connections.
Design Optimization: Our engineers use advanced CAE software for thermal-fluid simulations to refine the internal channel geometry of the cold plate (such as S-shaped, serpentine, or micro-fin structures). This achieves optimal heat dissipation efficiency with minimal pressure drop. Designs also factor in CNC machinability for seamless production.
Material Selection: Balancing thermal conductivity, weight, cost, and machinability, we recommended aerospace-grade aluminum alloys (e.g., Al 6061 or 6063) as the primary material. These alloys offer excellent thermal performance, strong mechanical properties, and ease of CNC processing. For brazing, we selected a compatible brazing alloy to match the base material.
Blanking and Rough Machining: Operators cut the selected aluminum alloy sheet into blanks slightly larger than the final size, followed by initial surface milling to ensure flatness.
Multi-Axis CNC Milling of Channels: This is the cornerstone of the entire process.
Equipment: High-speed spindle and precision tooling on multi-axis (3- or 4-axis) CNC machines.
Programming: Generate complex tool paths based on 3D design models.
Processes:
Milling Internal Channels: With exceptional accuracy, the milling cutter “carves” predefined complex coolant passages into the thick aluminum plate. This includes main channels, branch channels, and micro-fins or pillar arrays to increase surface area. Strict control of cutting parameters (feed rate, spindle speed, depth of cut) ensures smooth channel walls, reduced fluid resistance, and no burrs.
Milling Sealing Grooves: Precisely machine grooves around the channel areas for sealing with the cover plate. Groove dimensions and surface roughness are critical for reliable brazing or sealing.
Milling Mounting Surfaces and Ports: Create flat external mounting surfaces, drill and tap threaded holes for securing battery modules or brackets. Also, machine larger connection ports (typically round or custom-shaped) for coolant inlet/outlet.
Precision Requirements: Channel dimensions must adhere to micron-level tolerances to ensure uniform coolant flow and effective heat dissipation.
Blanking and Processing: Use the same material as the substrate for a thinner plate. Cut, surface mill, and precisely drill holes to align perfectly with the substrate’s mounting holes and sealing grooves. The cover plate is relatively simple, primarily for sealing, but requires strict flatness standards.
Importance: This step is essential, directly impacting brazing quality and the cold plate’s long-term reliability.
Methods:
Ultrasonic Cleaning: Submerge parts in a specialized cleaning solution, using ultrasonic vibrations to remove oil, residual cutting fluids, and tiny particles from deep channels and crevices.
Manual Inspection and Deburring: For small batch samples, we opt for manual deburring. All surfaces, especially internal channels, undergo meticulous inspection with professional tools to eliminate any remaining burrs or sharp edges, ensuring unobstructed flow and no contamination risks.
Purpose: Enhance corrosion resistance, surface hardness, or electrical insulation.
Methods: For aluminum alloy cold plates, anodizing is common. This process forms a dense oxide layer on the aluminum surface, significantly improving corrosion resistance—especially vital for liquid cold plates (LCPs) operating in humid or corrosive coolant environments.
Recommendation: If using copper alloys, consider nickel plating or passivation.
Principle: Vacuum brazing occurs in a vacuum environment, where a filler metal with a lower melting point than the base material melts, fills gaps via capillary action, and forms a strong, dense metallurgical bond upon cooling.
Processes:
Assembly: Align the cleaned substrate and cover plate precisely, placing pre-formed brazing foil in the sealing grooves. Fixtures ensure stable assembly.
Loading the Furnace: Place the assembled component into a dedicated vacuum brazing furnace.
Evacuation: Pump the chamber to high vacuum to remove air and oxides, preventing oxidation of the base material and filler during heating for a clean, efficient process.
Heating: Gradually raise the temperature to the filler’s melting point (below the aluminum’s melting point). The molten filler penetrates and fills seams evenly via capillary action, creating a secure seal.
Cooling: As it cools, the filler solidifies, integrating the substrate and cover into a unified sealed structure.
Advantages: Vacuum brazing produces defect-free, high-strength, pressure-resistant welds without internal stresses, ideal for liquid cold plates requiring absolute sealing and reliability. The vacuum environment ensures clean joints with no flux residue, eliminating corrosion risks.
Quality inspectors perform a series of checks, including dimensional tolerances, form and position tolerances, and non-destructive internal channel inspections. This confirms compliance with client specifications before shipping for functional testing.
Through this rigorous manufacturing process, we successfully produced liquid cold plates that met all stringent requirements:
Thermal Performance: Precision-machined channels and micro-fin structures maximize heat exchange area and ensure even coolant distribution for efficient heat transfer.
Sealing Reliability: Vacuum brazing provides metallurgical-level permanent sealing, guaranteeing zero leaks even under long-term high pressure and temperature cycling.
High Precision and Consistency: CNC machining ensures dimensional accuracy and consistent channel geometry across batches, maintaining quality in mass production.
Longevity and Corrosion Resistance: Selected aluminum alloys, optional anodizing, and flux-free brazing enhance durability and lifespan.