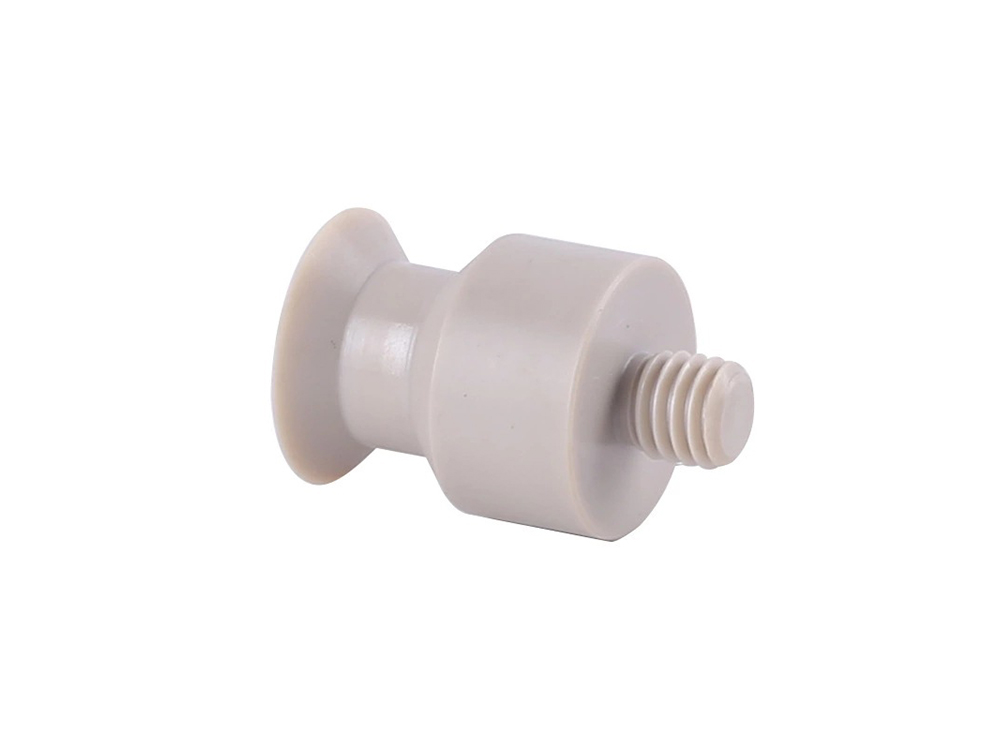
From aerospace components to medical devices—precision is not merely a requirement; it is the definition of functionality. For procurement officers, sourcing parts that consistently meet specifications is crucial for supply chain stability. For design engineers, knowing the achievable limits of manufacturing processes like CNC turning is essential for creating viable products.
At Chiheng Hardware, we understand that achieving tight tolerance machining on cylindrical parts requires a perfect synergy of advanced technology, skilled craftsmanship, and rigorous quality control. This guide delves into the specifics of precision CNC turning, explaining what “tight tolerance” really means in practice and how we ensure every turned part meets your exact requirements.
Before diving into the specifics of turning, it’s crucial to establish a common understanding.
In essence, machining tolerance is the allowable limit of variation in a physical dimension of a manufactured part. No machine can produce a dimension that is perfectly exact every single time. Tolerance specifies the acceptable range—the “wiggle room”—that ensures a part will still function correctly and fit with other components.
For a comprehensive understanding of international standards, general tolerance tables (like ISO 2768), and how to interpret standard engineering drawings, we highly recommend visiting our core resource page: CNC Machining Tolerance Standards. This page serves as the foundational reference for all our machining operations.
The term “tight” is relative, but in the context of modern precision CNC turning, it generally refers to tolerances that are significantly stricter than standard commercial grades.
While standard turning might easily achieve tolerances of +/- 0.05mm (+/- 0.002″), tight tolerance CNC machining typically involves holding dimensions to within:
+/- 0.01mm to +/- 0.005mm (+/- 0.0004″ to +/- 0.0002″) for critical diameters.
Even closer limits for specialized applications, sometimes approaching ultra precision machining levels (e.g., sub-micron tolerances), although this usually requires specialized equipment and environments.
Achieving these figures routinely on a lathe requires moving beyond basic setups and addressing a multitude of variables that can affect accuracy.
Turning tolerances are closely tied to tool geometry, insert strength, and the machining operation performed. Different insert shapes are optimized for specific cutting paths, material removal strategies, and tolerance classes. Below are several common insert types used in CNC turning and how they affect precision, stability, and surface quality.
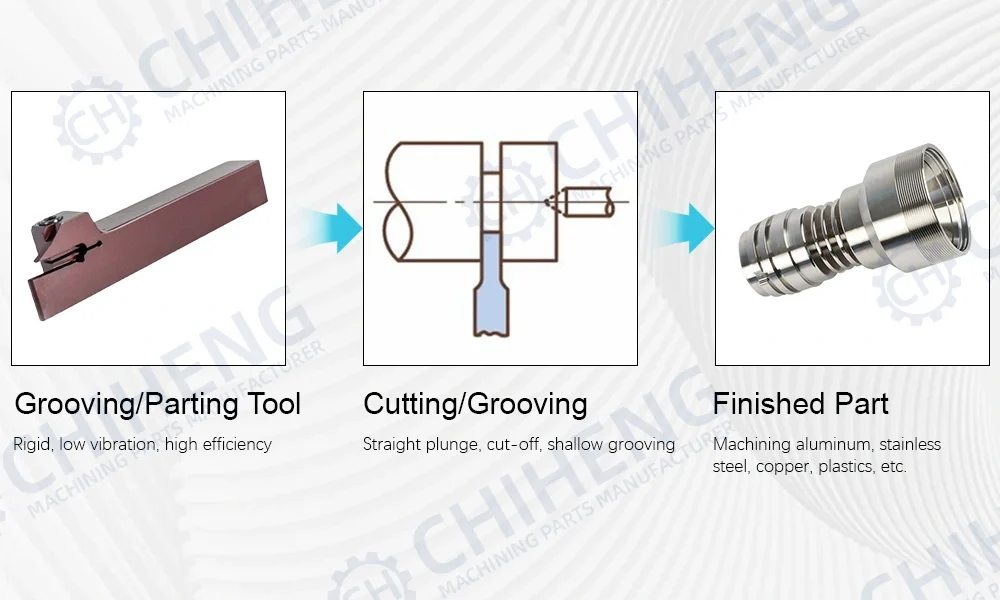
Grooving and parting operations demand extremely rigid tool setups because cutting forces are concentrated on a narrow insert. These tools are designed for low vibration and high stability, helping maintain consistent groove widths within ISO 2768-f or tighter custom tolerances. Materials such as aluminum, stainless steel, and copper respond particularly well to high-precision grooving when paired with sharp inserts and optimized cutting parameters.
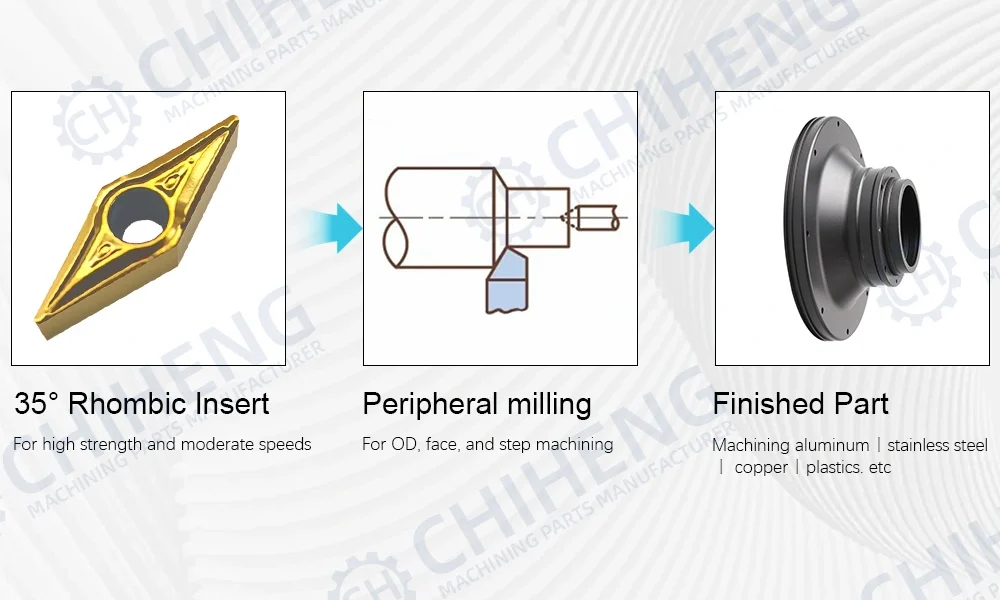
35° rhombic inserts offer a combination of sharp cutting action and moderate edge strength, making them suitable for peripheral milling, OD machining, and step machining operations. The reduced approach angle lowers cutting forces, improving surface finish and dimensional control during high-precision CNC machining. These inserts perform well on aluminum, stainless steel, copper, and engineering plastics, enabling efficient material removal while maintaining stable machining tolerances and consistent part geometry.
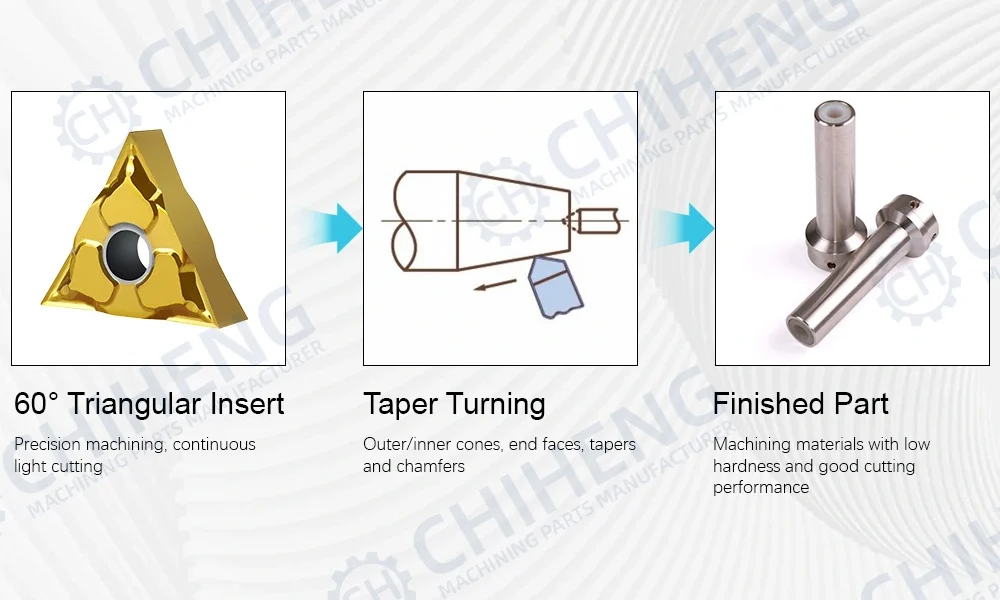
Taper turning operations benefit from 60° triangular inserts due to their sharp cutting edges and balanced geometry, which enable smooth material removal under light to medium cutting loads. The insert’s shape supports stable tool engagement when machining external and internal tapers, chamfers, and end faces. When used on aluminum alloys, mild steel, and stainless steel, triangular inserts help maintain dimensional accuracy and surface consistency within ISO 2768-m or tighter CNC machining tolerances, especially in precision turning applications.
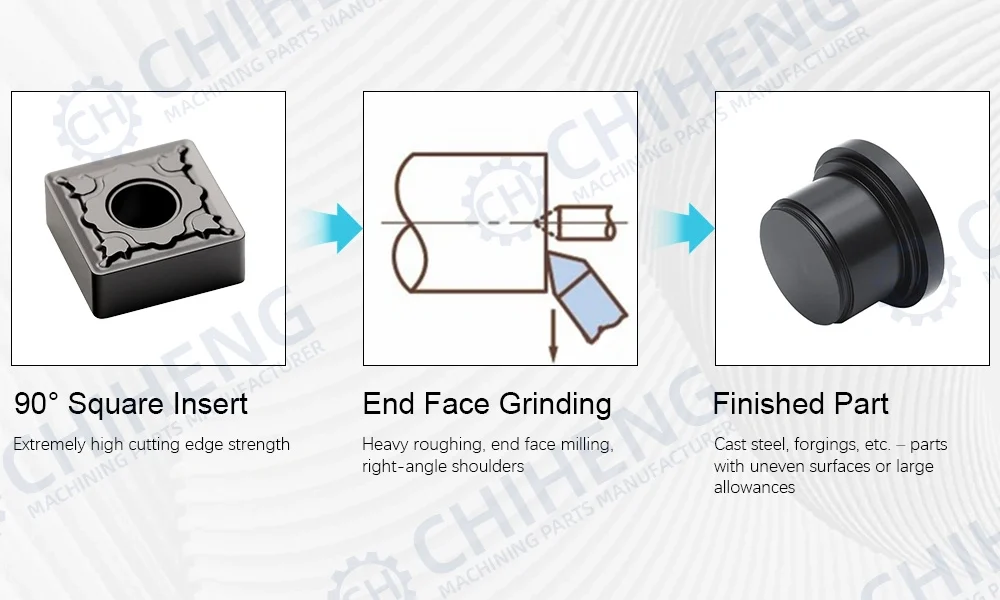
Square inserts are designed for maximum cutting edge strength, making them ideal for end face machining, heavy roughing, and right-angle shoulder operations. Their robust geometry allows stable cutting under high load conditions, especially when machining cast steel, forgings, and other difficult-to-machine materials. In CNC turning and milling processes, square inserts help control flatness, perpendicularity, and surface integrity while supporting consistent machining tolerances for components with large material allowances.
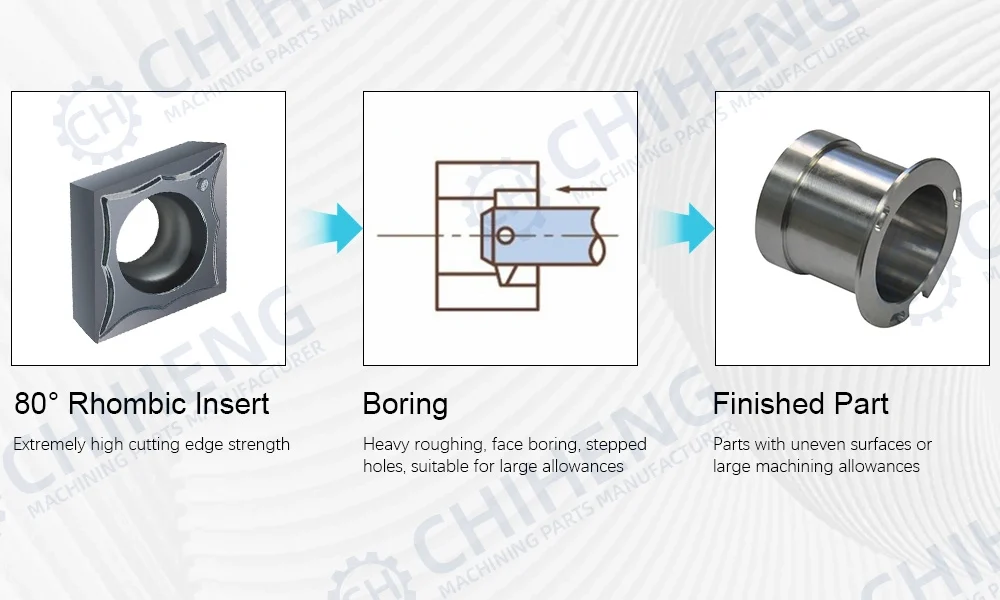
Boring operations demand inserts with high edge strength to withstand radial cutting forces and interrupted cuts inside pre-machined holes. 80° rhombic inserts provide exceptional rigidity and cutting edge durability, making them well suited for heavy roughing, face boring, and stepped hole machining. These inserts are commonly used when machining parts with uneven surfaces or large stock allowances, helping achieve reliable bore geometry and controlled tolerances in CNC boring applications.

Round inserts are ideal for copying and contour turning because their continuous cutting edge distributes cutting forces evenly across the tool. This design significantly improves tool strength and reduces edge chipping during profile machining and large-radius contouring. In CNC turning of tool steel, die steel, stainless steel, and low-carbon materials, round inserts provide excellent stability and surface finish while supporting consistent machining tolerances in complex profiles and heavy-duty applications.
For engineers designing parts and buyers evaluating suppliers, understanding what drives precision in turning is key. It’s not just about “pressing a button.”
1. Machine Rigidity and Thermal Stability
What are machine tolerances ultimately dependent on? The machine itself. A high-quality CNC lathe must be incredibly rigid to resist deflection during cutting forces. Furthermore, it must have advanced thermal compensation systems to counteract the expansion and contraction caused by heat generated during the machining process. At Chiheng, our state-of-the-art turning centers are engineered for this exact stability.
2. Workholding and Clamping Distortion
This is a critical challenge, especially for thin-walled cylindrical parts. Applying too much clamping force with a chuck can deform the part into a slight oval shape. The part is machined “round” while clamped, but springs back to its deformed shape once released, instantly pushing it out of tolerance. We employ specialized solutions like collet chucks, soft jaws, or pressure-regulated clamping to mitigate this issue.
3. Tool Selection and Wear Management
Using the correct insert grade and geometry for the specific material is non-negotiable. As a tool wears, the part’s diameter changes. Our skilled operators and automated probing systems constantly monitor tool life and make micro-adjustments (offsets) to maintain the target dimension throughout the production run.
4. Material Properties
Machining tolerances for aluminum are generally easier to hold tightly than for harder, more abrasive materials like Inconel or certain stainless steels. Internal stresses within the raw material stock can also cause parts to warp after material is removed. Our experience allows us to select the best processing strategy—such as adding stress-relief cycles—based on the material’s behavior.
While CNC lathes are masters of cylindrical parts, many modern components require more than just simple OD/ID turning. They may have off-axis holes, milled flats, or complex contours.
Traditionally, this would require moving the part to a milling machine for a second operation. However, every time a part is re-fixtured, a small amount of error is introduced, making it incredibly difficult to hold tight overall tolerances (like concentricity or true position) between turned and milled features.
To solve this, we utilize advanced multi-tasking machines. For a deep dive into how combining turning and milling in a single setup can revolutionize the precision of complex parts, please read our companion article: How to Achieve Tightest Tolerances on Complex Parts: The CNC Turn-Mill Machining Advantage
Feature | Standard Capability | High-Precision Capability (Upon Request) |
Diameter Tolerance (OD/ID) | +/- 0.02mm (+/- .0008″) | +/- 0.005mm (+/- .0002″) |
Length Tolerance | +/- 0.05mm (+/- .002″) | +/- 0.01mm (+/- .0004″) |
Surface Finish (Ra) | 1.6 µm (63 µin) | 0.4 µm (16 µin) or better |
Common Materials | Aluminum, Brass, Mild Steel | Stainless Steel (304/316), Titanium, Peek, Delrin |
Quality Verification | Calibrated Hand Tools, Micrometers | CMM Inspection, In-Process Probing, Laser Micrometers |
Achieving tight tolerances in CNC turning is a complex discipline that balances machine capability, tooling strategy, and deep material knowledge. Whether you are a buyer looking for a reliable partner to secure your supply chain or an engineer seeking to push the boundaries of design, Chiheng Hardware has the expertise and equipment to deliver precisely turned parts, time after time.
For inquiries regarding general tolerance definitions and standards that guide our processes, remember to consult our CNC Machining Tolerance Standards (Anchor Text: CNC Machining Tolerance Standards) page.
You can send us any questions to get any information you would like to know, and we will respond to you in extremely short time.