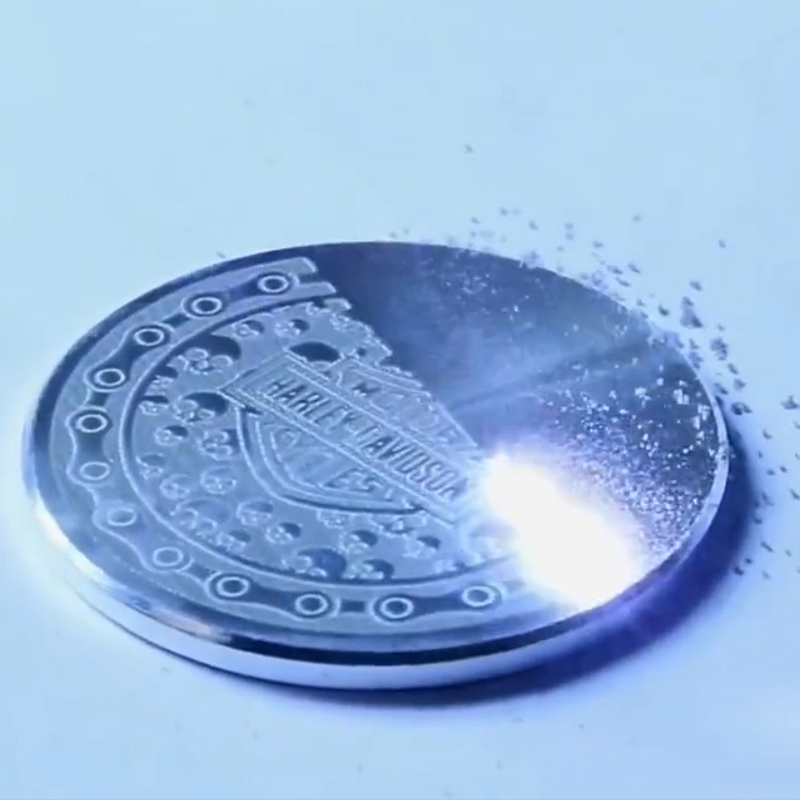
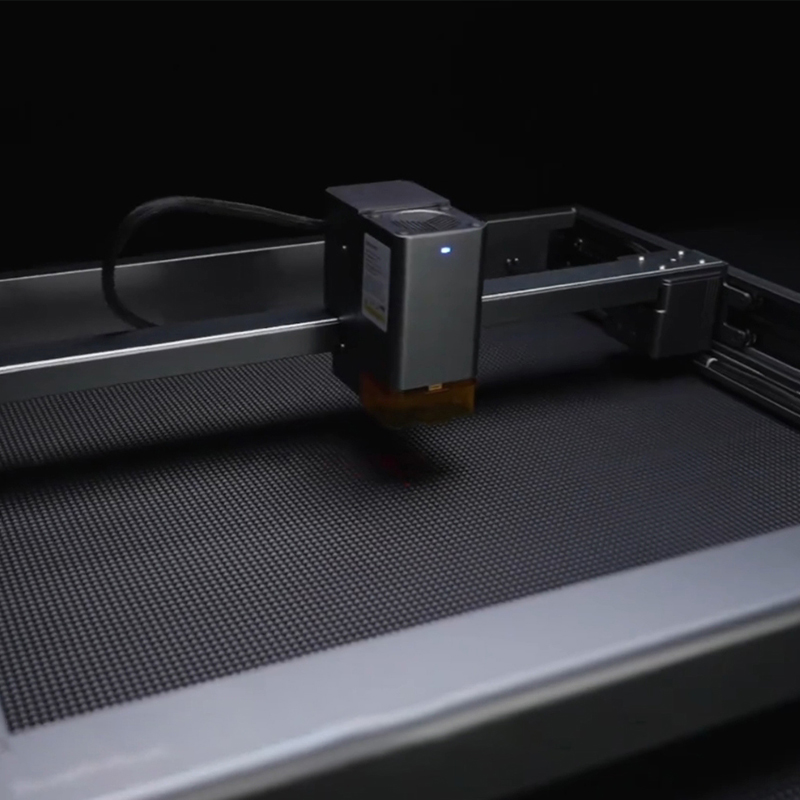
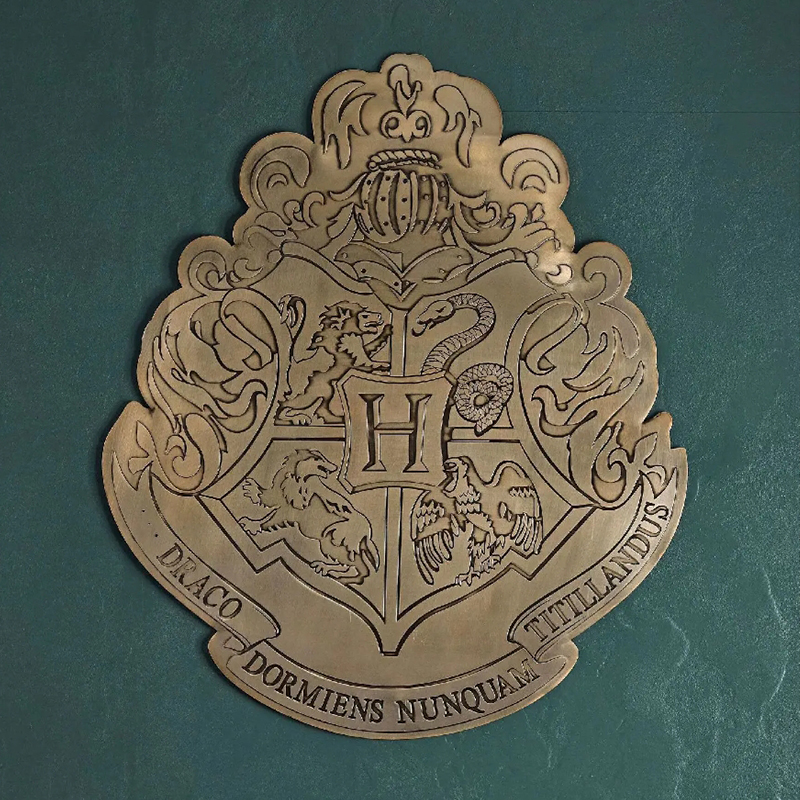
Diode laser relief engraving is a versatile technique used to create intricate 3D designs on a variety of materials. By carefully controlling the laser beam, you can achieve stunning depth and detail in your engravings. Here's a step-by-step guide to help you get started:
-
1.Material Preparation:
- • Choose a suitable material such as stainless steel, aluminum, or wood.
- • Ensure the material's surface is clean and free from contaminants.
-
2.Design Creation:
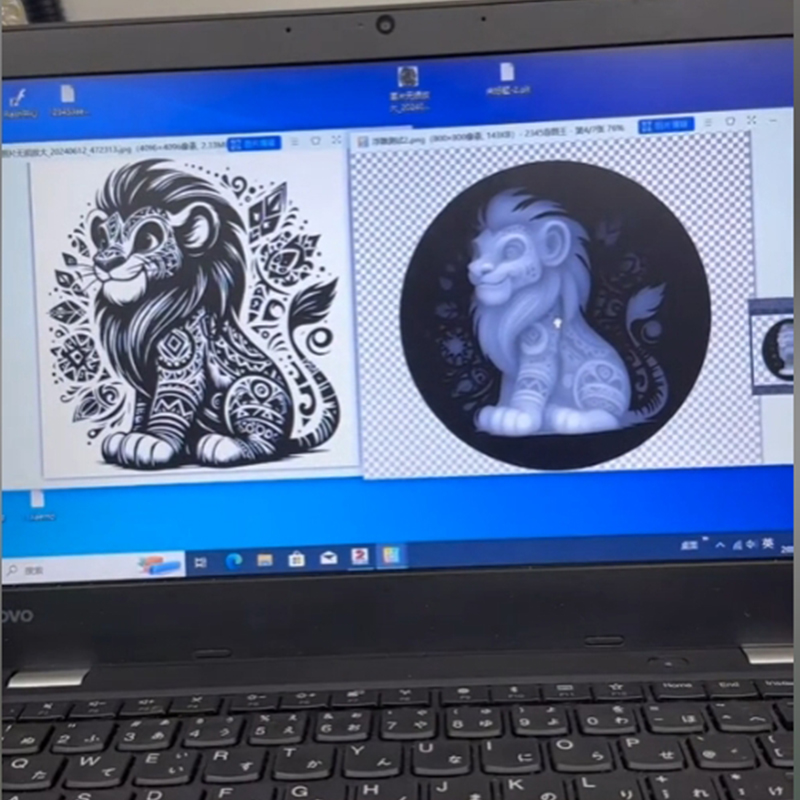
- • Utilize design software (e.g., CAD, CorelDRAW) to craft your desired pattern.
- • Convert your image to grayscale and optimize contrast to enhance depth perception.
-
3.Laser Parameter Setup:
- • Configure the laser's power, speed, and frequency based on the material's properties and the complexity of your design.
- • Starting parameters: A higher power (30–100%) and lower speed (30–90%) typically provide deeper cuts.
-
4.Workpiece Securing:
- • Firmly fasten the workpiece to the laser engraving machine's worktable.
-
5.Focusing:
- • Accurately focus the laser beam onto the workpiece surface to ensure optimal results.
-
6.Test Engraving:
- • Conduct a test engraving on a scrap piece of material to fine-tune power and speed settings.
-
7.Full Engraving:

- • Initial passes: Perform 3-4 passes at a lower speed and higher power to establish depth.
- • Finishing pass: Complete with 1-2 passes at a higher speed and lower power to remove any residual material.
-
8.Cooling:
- • Conduct a test engraving on a scrap piece of material to fine-tune power and speed settings.
-
9.Inspection and Refinement:
- • Carefully inspect the engraved piece and make adjustments to your parameters as needed to achieve the desired 3D effect.


